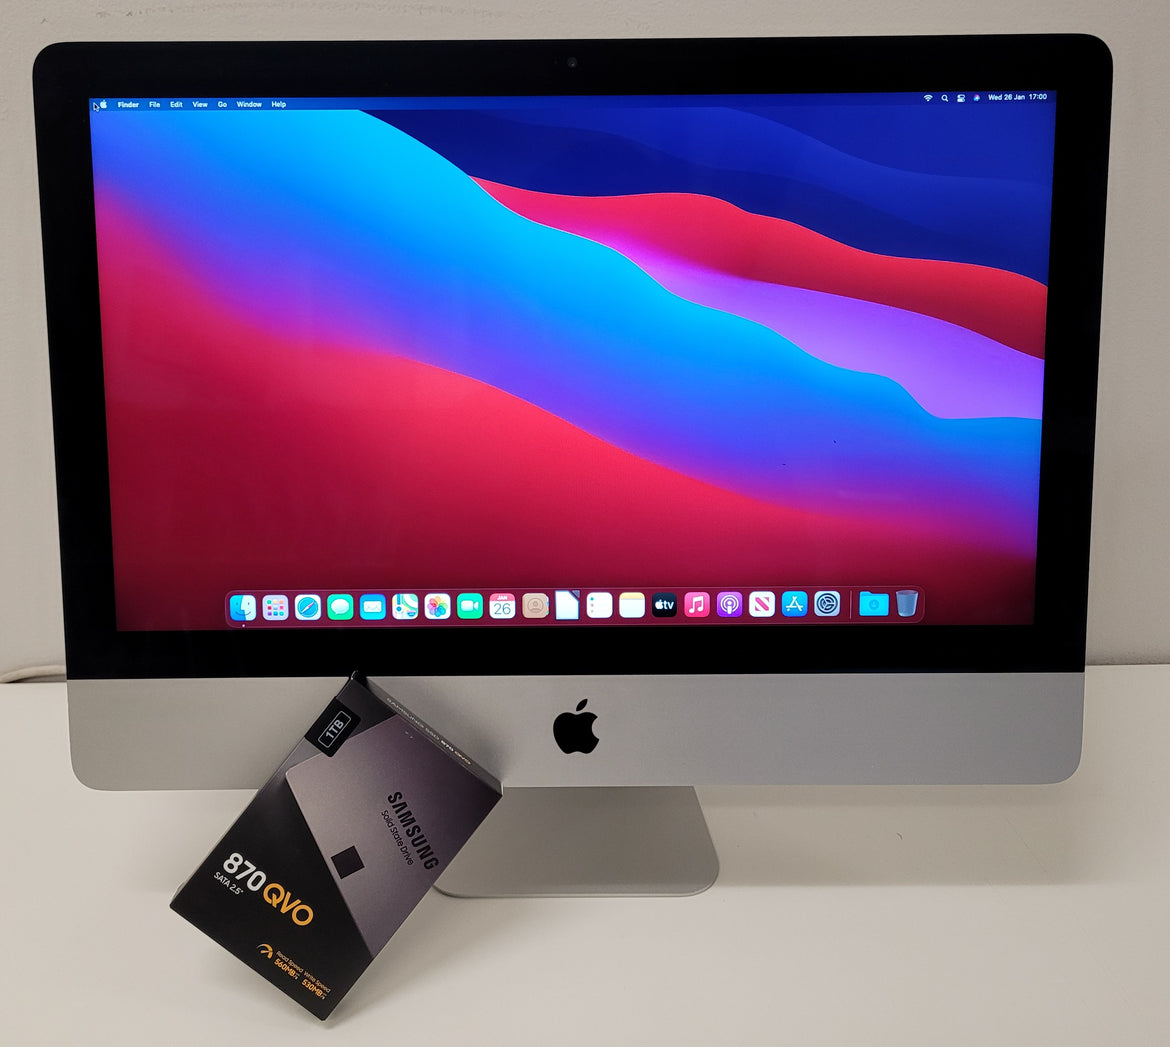
21.5" iMac Mid-2014 1TB SATA SSD Upgrade
- News
- 25 Jan, 2022
This 21.5” iMac was brought in to be updated, as it will be used for business purposes, managing documents, emails along with general web browsing. The machine had been wiped and was running slowly! This iMac will be upgraded to handle all these tasks with ease, transforming into a responsive and reliable office companion!
These iMacs come factory fitted with a mechanical hard disk drive (HDD). These HDDs are generally slow and unreliable as they use moving parts! These parts wear out over time, causing the machine to slow down before failing completely! Some of these iMacs were also sold with an alternative storage option that’s called a Fusion Drive. This still utilises the slow and unreliable HDD, but is paired with a quick solid state drive (SSD). The machine still runs slow with this setup however. The SSD is typically only 32GB in size, which gets paired with a 1TB HDD to form 1 volume. This means the majority of the iMac, including the operating system and applications, still runs off the slow hard drive so the speed of the SSD isn’t noticed!
This iMac was set up with just a HDD that is 500GB in size. The iMac also has 8GB of RAM, which unfortunately, can’t be upgraded on this model as it is soldered to the logic board. Though 8GB is plenty for its intended use!
To speed this iMac up and give it a new lease of life, I will be fitting a 1TB SSD to replace the slow 500GB HDD, doubling the capacity!
SSDs use no moving parts, less power and operate cooler and quieter, all whilst being faster and more reliable!
With the iMac being a Mid-2014 model, I can install macOS 11 Big Sur, the latest it supports.
Upgrade Process
As this iMac is one of the slim A1418 models, it uses adhesive seals to secure the screen in place. These seals must carefully be broken before the screen can be removed. As the screens are so thin, they are very fragile, so extra care must be taken when removing it!
Once the screen has been disconnected and removed, the various components, including the hard drive, are now visible. I can remove the fan to give it and the heatsink a clean.

After cleaning and lubricating the fan bearing, I can now remove the HDD and fit the new 1TB SSD.


With the SSD now fitted, it’s time to install the OS and test the machine before sealing it back up!

The SSD is picking up so I can now install Big Sur!


After loading Big Sur onto the SSD and testing the iMac, I can now seal it all back up!

With the screen now sealed, the iMac is ready to go!
Speed Differences
Below the startup time differences can be seen!
Conclusion
Now upgraded, this iMac has a long life ahead of it! It is faster starting up and much more responsive than it originally was and would have been when new! Fitting an SSD is one of the best ways to keep an older machine up to scratch
